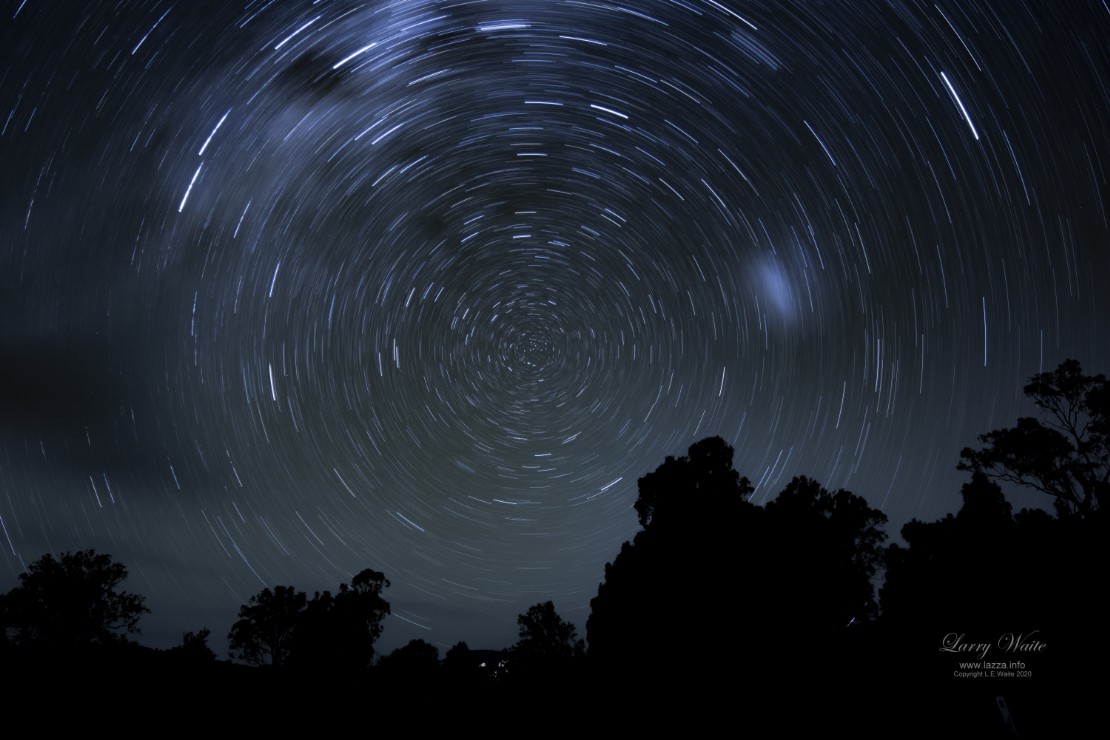
Taking a Star Trail Photo
Star Trails

With the camera on a tripod facing due South captured the celestial pole in the middle.- 35 minute exposure, f/2.8/ ISO 100 -14mm lens.
Star Trails
The stars are not moving, but rather the Earth is rotating on its axis. Because your camera is in a fixed point on Earth the stars appear to be in motion. A long exposure of say 40 seconds or more, will begin to give you star trails. That is, you will see the effect of the Earth moving in your photograph. An exposure of 30 minute or more and you will begin to see the circular effect that is created by our orbit with that of the stars.
You can get some pretty interesting shots with star trails. Try facing due East or West for star lines, and North or South for circles.
You can also get star trails by taking a series of say 30 second exposures, within a second or two of each other and then stacking them.
The main thing is stability of the camera and perhaps location.
Exercise 1.
Capturing a Star Trail
You want dark skies no lights. You may also want something in the foreground, but that is a personal choice. If you do want something in the foreground, make sure it is in focus!
Try ISO 100 or 200, f/2.8 and in ‘bulb’ mode take a 30-40 minute exposure.
1) Place your camera on tripod facing up at the sky about 30-45 degrees with your wide angle lens attached.
2) Turn ‘Auto Focus off and manually focus the stars (if you have Live View use the ‘+’ to zoom in on a star as much as possible and put it in focus then hit the ‘-‘ to zoom back out)
3) Select Manual mode.
4) Plug in shutter release (or set the cameras timer to 10 seconds)
5) Set exposure to 30 minutes
6) ISO 200
7) Set the f/stop smallest number it can go f/2.8 for example ( The smaller number the more open the iris)
8) Start the shot!
See what the shot looks like and make further adjustments as required.

